

How to Create a Calendar App Icon in Photoshop
Every day, new mobile applications are launched and the number of people that use apps continues to grow rapidly. The creation of a successful app is something that concerns programmers as well as designers. Sometimes graphic designers may need to realize the design for apps or to draw effective icons for them.
That’s why, in this tutorial, I will show you how to create a beautiful calendar app icon using Adobe Photoshop.
Here you can see a preview of the final result.

STEP 1
As usual, the first thing you have to do is to open a new Photoshop document. I made it 1200 x 700 pixels. Then you can fill the background as you prefer.

STEP 2
We’ll now start creating the app. Select the “Rounded Rectangle Tool” and set the radius to 40 pixels.
Then draw a white (#ffffff) rounded square, you can easily do this if you press the “Shift” key while moving the mouse.

STEP 3
It’s time to add some layers with style. So, double click on the layer and go to “Drop Shadow”. I suggest you sett values like these:
Blend Mode: Normal
Color: Black (#000000)
Opacity: 30%
Angle: 81°
Distance: 2
Spread: 0
Size: 3
Noise: 0
Color: Black (#000000)
Opacity: 30%
Angle: 81°
Distance: 2
Spread: 0
Size: 3
Noise: 0
Then open the “Stroke” panel and insert these parameters:
Size: 2 to 3
Position: Outside
Blend Mode: Normal
Opacity: 25%
Color: #343434
Position: Outside
Blend Mode: Normal
Opacity: 25%
Color: #343434
You should get this result.

STEP 4
In this step we’re going to create the pages of the calendar.
Right click on the layer and duplicate it. Move the new layer up just by using the up arrow, remember that every time you press the key you lift the shape to about 1 pixel. I put it 5 pixels higher than the previous layer.
Remember to deselect the “Drop Shadow” of this layer and change the color of the “Stroke” to #000000.
Furthermore, you have to clip this layer to the previous one. How you can do that?
It’s very simple, just right click on the layer and click on “Create Clipping Mask”

STEP 5
We have now two different shapes.
Once again you have to duplicate the second one, move it up and clip it to the previous layer.
This time we’ll make the “Drop Shadow” visible.
We have thus created the pages of our calendar.

STEP 6
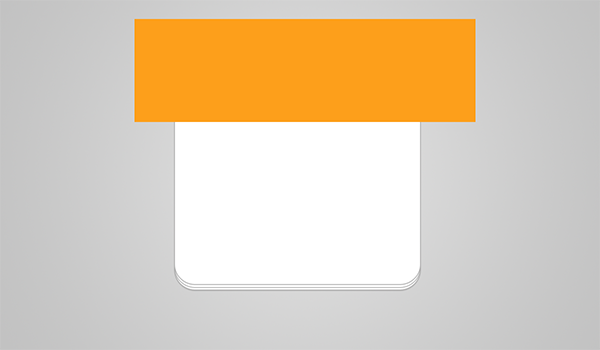
To make the calendar seem more real, we will add an orange border at the top.
Select the “Rectangle Tool” and draw a rectangle like this one. The color is #fd9f1b.
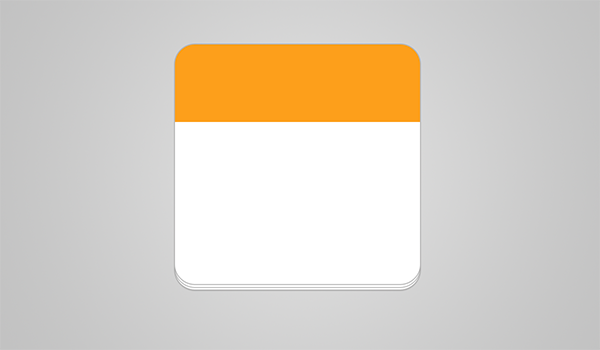
STEP 7
Once again, it’s important to create a clipping mask in order to place the rectangle inside the shape of the pages.
STEP 8
We also have to add some style to the layer, so let’s open the “Layer Style Panel”.
Go to “Stroke” and insert these values:
Size: 2
Position: Outside
Blend Mode: Normal
Opacity: 100%
Color: # dd870e
Position: Outside
Blend Mode: Normal
Opacity: 100%
Color: # dd870e
Then click on “Drop Shadow” :
Blend Mode: Normal
Color: #b9530f
Opacity: 83%
Angle: 81°
Distance: 3
Spread: 0
Size: 3
Noise: 0
Color: #b9530f
Opacity: 83%
Angle: 81°
Distance: 3
Spread: 0
Size: 3
Noise: 0
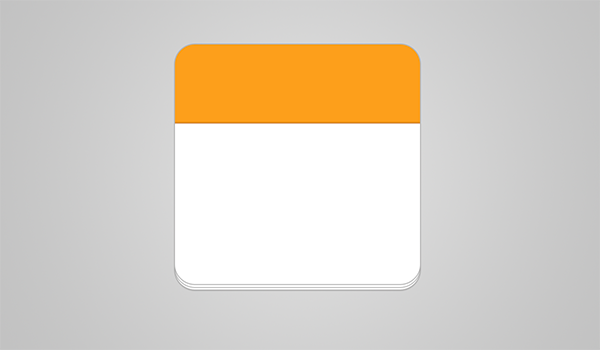
You will obtain a result similar to the one shown below:
STEP 9
After we have created the border, we can also add a decorative stretch. So, create a new layer.
We have to create a new brush, but don’t worry, it won’t be difficult.
Pick the “Brush Tool”, select a rounded one with the size of 4 pixels. Then go to “Window”, then on “Brush”. In this way, it’s possible to create a personal brush.
Click on “Dual Brush” and set the “Diameter” to 10 pixels, the “Spacing” to 250%, the “Scatter” to 0 and the “Count” to 10.

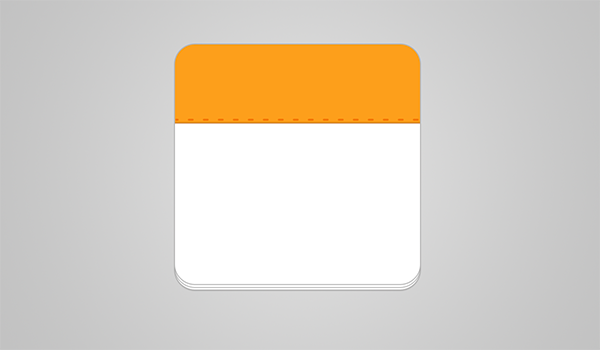
STEP 10
The brush is ready to be used, so select #f37302 as the color and draw a horizontal line. As we did before, you can press the “Shift” key while moving the mouse in order to make a perfect line.
STEP 11
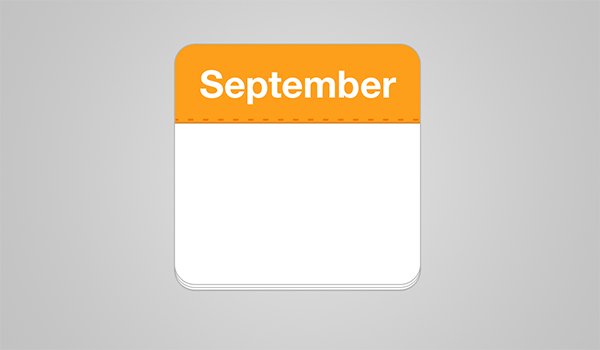
We’ve almost finished the tutorial. We only have to add the Month, the Day and Date.
The font I used was “Helvetica Neue Bold”.
Select the “Horizontal Type Tool”, set the color to White (#ffffff) and write the Month you prefer on the Orange Border. You can also decide to use another size to get the result you like most.
STEP 12
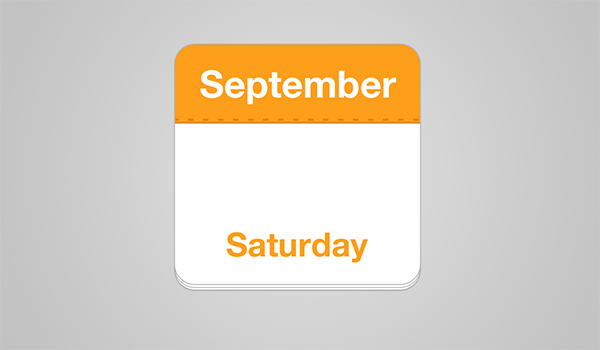
With the same font, but with a smaller size, write the name of day, in this case it is Saturday.
The color I used is #fd9f1b, the same as the Orange top section.
STEP 13
The last step is very easy, you only have to add the Date in the middle of the page. This time the color is #343333. I suggest you make the number bigger than the other words.
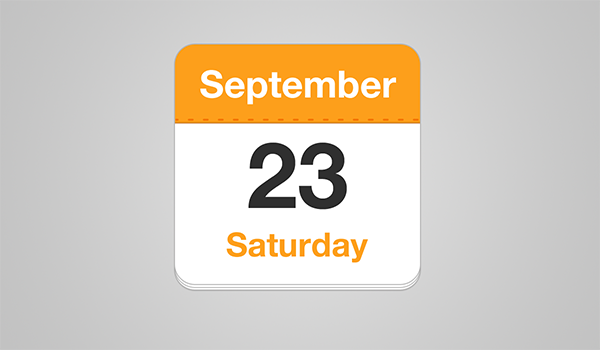
The icon is now ready and the tutorial is finished. I hope you found it useful and that you learned something new.
Share story


0 comments: